
Adding a new picture to a document in Google Docs can be as simple as going to the Insert menu and clicking the right option, then selecting the image.
If you’re lucky, the picture will look good in the document without any adjustments.
But you might find that it doesn’t look good the way it is and that you want to put it in the middle of the page.
Our tutorial below will show you how to center an image in Google Docs with a few quick steps.
How to Put an Image in the Middle of the Page in Google Docs
- Open the document with the picture.
- Select the picture. If you don’t already have the image in the document, then you can insert it.
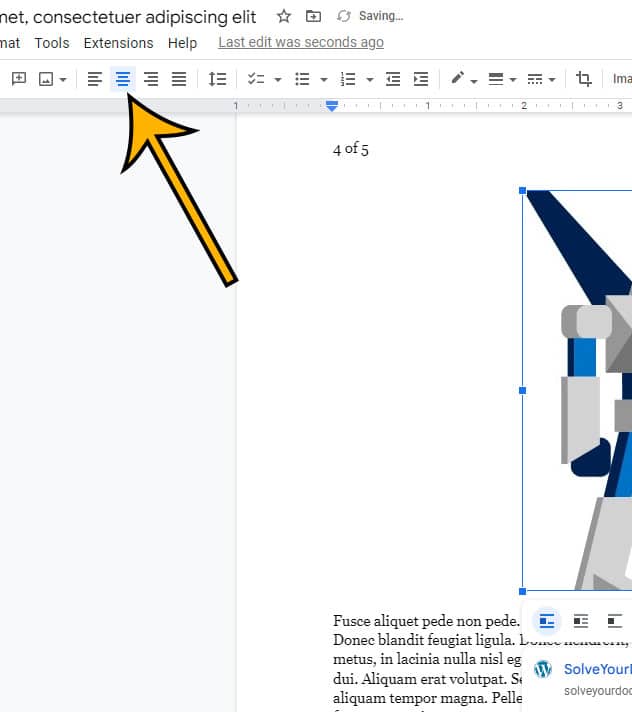
- Click the Center button in the toolbar above the document.
Our guide continues below with additional information on aligning document images, including pictures of these steps.
If you’re looking to add a bit of visual flair to your Google Docs document, one of the easiest ways to do so is by adding an image.
But if you want to make sure your image looks its best, you’ll need to know how to center it.
Fortunately, centering an image in Google Docs is a simple process that only takes a few steps.
Centering Google Docs Pictures
The steps in this section were performed in the desktop version of the Google Chrome web browser but work in other desktop browsers as well.
Step 1: To get started, open the document in which you’d like to center an image.
Step 2: Select the image to center.
If you don’t have the picture in the document, then, click on the “Insert” tab at the top of the page and select “Image.” This will open a window where you can select the image you’d like to add. Once you’ve chosen an image, click “Open” to insert it into your document.

Step 3: Now that your image is in the document, you can center it. To do this, click on the image and then click on the Center Align button in the toolbar.
Now that you know how to center an image in Google Docs, you will be able to use this simple technique whenever you don’t want a left-aligned picture.
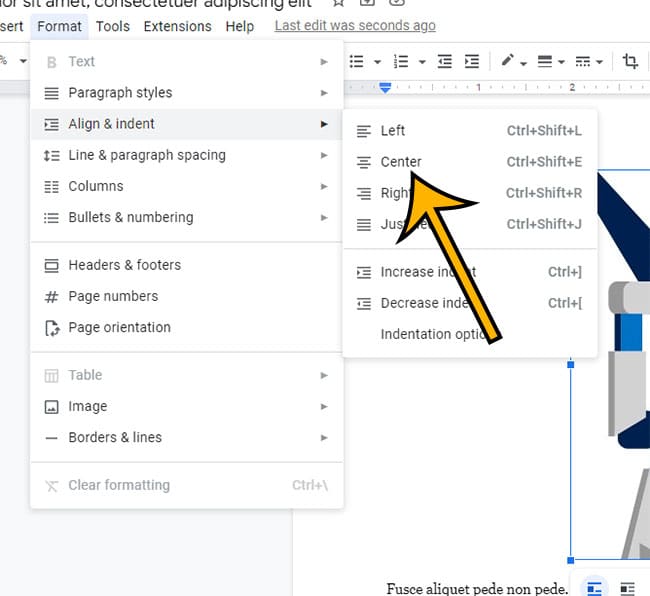
Alternatively, you could click the Format tab at the top of the window, choose Align & indent, then choose the Center align option from that menu.
That’s all there is to it! Centering an image in Google Docs is a quick and easy process that can help make your documents look more professional and polished. So next time you’re looking to add a bit of visual flair to your document, don’t forget to center your images for the best results.
How to Insert an Image in Google Docs
When you want to include an image in your document, you have a few different paths that you can take.
- Upload an Image from Your Computer
If you already have an image saved on your computer, you can upload it to Google Docs. To do this, open the document in Google Docs, click Insert on the top menu bar, and select Image. Then select Upload from Computer and find the image you’d like to insert. When the image appears in the document, you can resize it or drag it to the desired location on the page.
- Add an Image from Google Drive
If you’ve already uploaded your desired image to Google Drive, you can insert it into your document without having to upload it again. To do this, click Insert > Image > Google Drive and select the image you want. You can also search for an image in Google Drive by entering keywords into the search bar.
- Insert an Image from the Web
If you’d like to use an image from the web, click Insert > Image > Online and enter the image’s URL into the search bar. You can also search for images using keywords. Keep in mind that some images may be protected by copyright or require payment to use.
- Add a Drawing
If you are looking for a way to add a custom drawing or diagram to your document, you can use Google Drawings. To create a drawing in Google Docs, click Insert > Drawing and select New. Once you’ve added your drawing to the document, you can resize it or drag it to the desired location on the page.
Although adding images to your documents can take time, it is a great way to make your documents more visually appealing and informative. With these four methods, you have plenty of options for inserting images into your Google Docs documents.
How to Edit Google Docs Images
- Upload an image to your document. To add an image to your document, click “Insert” > “Image”. You can then select an existing file from your computer, or upload an image from the web.
- Select your image and click on the “Image Options” button. This is located in the top right corner of your image. A drop-down menu will appear with several editing options.
- Adjust the size of your image. First, select the “Crop” option. You can then drag the corner of the image to adjust the size. When you are happy with the new size, press the “Save” button.
- Change the contrast and brightness of your image. Select “Adjustments” from the Image Options menu, then adjust the brightness and contrast using the sliders. Click “Save” to apply the changes.
- Add a border to your image. Select “Borders” from the Image Options menu, then select a color and thickness for your border. Press “Save” to apply the changes.
- Add some special effects to your image. Select “Effects” from the Image Options menu and choose an effect from the list of options. When you are happy with the new look, press “Save” to apply the changes.
With just a few clicks, you can quickly edit your Google Docs images to make them stand out from the crowd. Give it a try and see what you can come up with!
Matthew Burleigh has been writing tech content online for more than ten years. He enjoys writing about Google Docs in addition to many other applications and devices and has cumulatively covered Google’s word-processing application in hundreds of different articles.
He has been published on dozens of popular websites, and his works have accumulated millions of pageviews.
While focused primarily on tutorials and guides for popular electronics like the iPhone and iPad, as well as common applications like Microsoft Word, Powerpoint, and Excel, he covers topics across the entire technology spectrum.
You can read his bio here.