
When you are creating or editing a document in Google Docs, it’s only natural to be focused primarily on the content of that document.
But many documents are improved with the addition of other media or objects, such as pictures.
Fortunately, there are a number of different options available to you when it comes to putting an image in Google Docs, which we will discuss in our tutorial below.
How to Add a Picture to a Document in Google Docs
- Open your document.
- Click where you want to add the image.
- Choose the Insert tab.
- Select the Image option.
- Choose the picture location.
- Find and select the picture.
Our guide continues below with additional information on how to put a picture in Google Docs including pictures of these steps.
Our how to delete image in Google Docs article can show you how to get rid of an image that you have already inserted in your document.
While many documents created in Google Docs will consist only of text, you may occasionally create a document that includes other objects as well.
Whether that object is a table, a link, or even an image, it’s possible to include it within the content of the document.
But if you are new to Google Docs or if you simply haven’t had to include a picture before, then you may be having trouble putting an image into your document.
Our guide below will show you how to put an image in Google Docs if it’s located on your computer.
Would you like Google Docs to stop making some of your words capitalized? Our turn off auto capitalization Google Docs tutorial will show you a setting to change.
How to Put a Picture in a Google Doc
The steps in this article were performed in the desktop version of Google Chrome, but will work in other desktop Web browsers as well.
I am going to be putting an image in Google Docs that is stored on my computer, but there are a couple of other image location options that you can use as well.
Step 1: Sign into Google Drive and open your document.
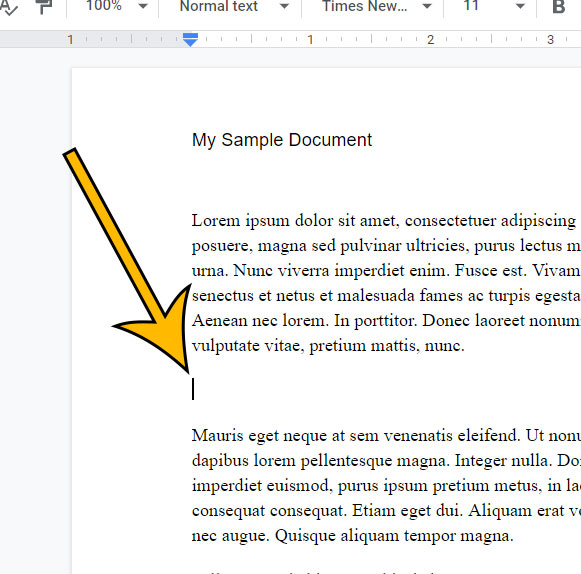
Step 2: Place your cursor at the point in the document where you want to put the image.
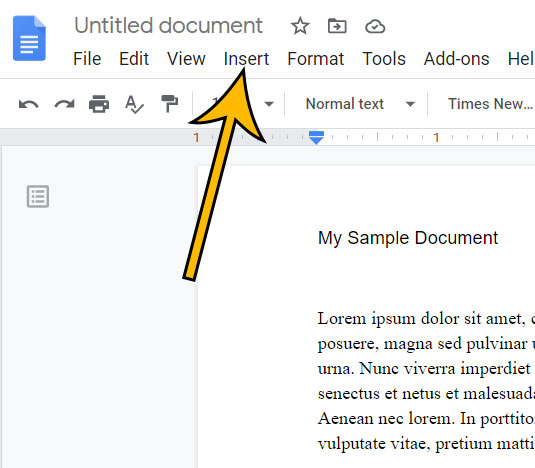
Step 3: Click the Insert tab at the top of the window.
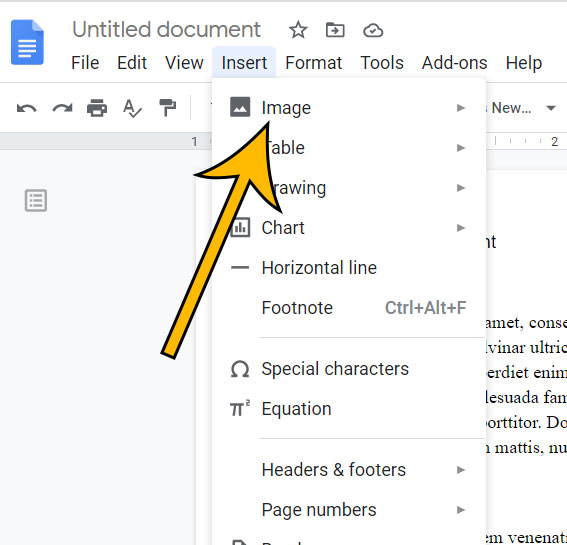
Step 4: Select the Image option.
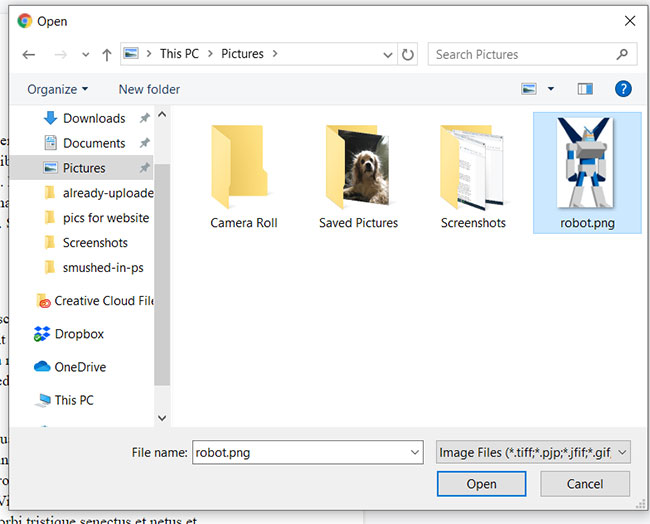
Step 5: Choose the location of the image you want to use.

Step 6: Browse to the image and select it.
Once the picture is in the document, it may not be the right size, or it might be rotated incorrectly. If you click on the picture you will see some boxes and other controls around the picture that let you adjust it.
Find out how to add a link to your image if you would like your readers to be able to click the picture and view a Web page on the Internet.
Matthew Burleigh has been writing tech content online for more than ten years. He enjoys writing about Google Docs in addition to many other applications and devices and has cumulatively covered Google’s word-processing application in hundreds of different articles.
He has been published on dozens of popular websites, and his works have accumulated millions of pageviews.
While focused primarily on tutorials and guides for popular electronics like the iPhone and iPad, as well as common applications like Microsoft Word, Powerpoint, and Excel, he covers topics across the entire technology spectrum.
You can read his bio here.